


It’s a matter of pride when somebody compliments the finesse and finish of your home’s walls. However, in order to achieve a crystal-clear finish on the walls of your dream home, you must plan your wall painting project carefully. Painting is the absolutely correct way to change the ambiance of your home whenever you want to give it a new and fresh look. You’ve decided to have your house painted. Is it just paint, or are there other factors that lead to an improved and longer-lasting paint finish?
Yes! Many people believe that choosing the right paint is enough to achieve a stunning wall finish. But perfect walls require more than just the best paints. Applying wall putty to your walls prior to painting ensures a smooth and even finish! So, before you begin, you should be familiar with wall putty. Let’s discuss what is wall putty and how to apply wall putty to make walls more beautiful.
What is Wall Putty?
Putty is essentially a fine white cement-based powder whose primary function is to even out the surface and make it level for subsequent coats of paint. Putty also aids in the filling of minor cracks and pores, as well as the removal of any undulation on the wall.
The best thing about wall putty is that it can be used on both dry and wet walls, as well as on both interior and exterior wall finishing. However, in order to achieve exceptional results, it is essential to first understand the process of putty application.

How to Apply Wall Putty?
Wall Preparation
It is essential to note that all loosely adhering material on the wall surface should be removed. You can use sandpaper, a putty blade, or a wire brush. The walls must be clean and free of dust, grease, and other materials. You should also use a lot of clean water to wet the wall.
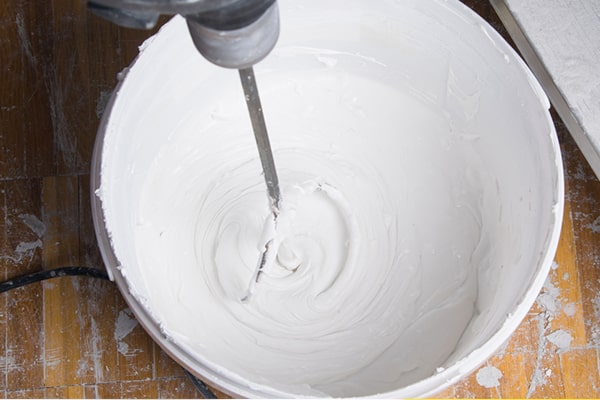
Mixing
To make a paste, slowly mix Wall Care Putty with 36-38 percent clean water. Mix for at least 10-15 minutes, or until a uniform paste is formed.
To make mixing easier, use a power drill with a stirrer attachment set to a low mixing speed. You can also use a stirring stick or other similar manual implements. In any case, make certain that the dry mix has been thoroughly incorporated and that there are no lumps.
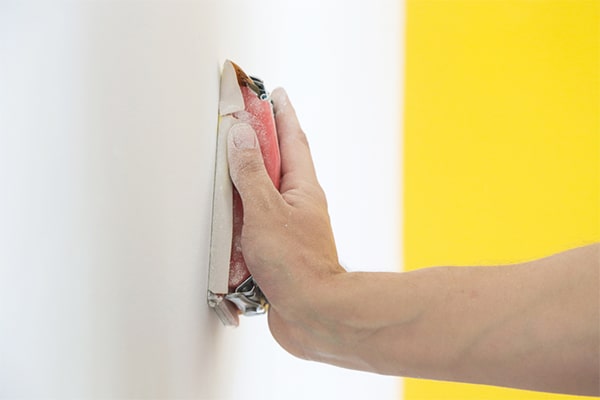
Application
It is necessary to keep in mind that the wall putty should only be applied after the first primer coat has dried. It fills in surface flaws and even minor cracks. It serves as a protective sub-layer for the paint. One or two coats of putty can be applied as needed, but the previous coat must dry before applying the next coat. To be safe, wear your mask and eyewear while applying the putty. Furthermore, the mixed wall putty may be a skin irritant, so it’s best to apply it while wearing gloves.
When the first coat of white cement-based putty has dried, gently rub the surface with a wet sponge, a putty blade, or waterproof emery paper to remove any loose particles.
Second coat: Allow the first surface to dry for at least three hours before applying the second coat of Wall Care Putty. Remove the marks with a moist sponge after the second coat, or rub the surface very gently with waterproof emery paper.
Finally, allow the surface to dry for a minimum of 10-12 hours, preferably overnight. This will prepare your wall surface for the application of paint.
The Benefits of Wall Putty
It is environmentally friendly.
It can be used for interior and exterior
It extends the life of the wall paint.
The use of two coatings results in a smoother surface for painting the walls. It completes the look perfectly.
It necessitates less care
It protects the wall from patches due to its resistance.
We hope you have enjoyed this article on how to apply wall putty for perfect wall finishing. If you are looking to purchase wall care putty at best price, this is the right place for you. Kindly check the best price here (Wall care putty)